M-Bus to LoRaWAN - The Things Stack
Intergration manual focused on integration of our devices into The Things Stack network.
Introduction
This manual provides a step-by-step guide for integrating the ACRIOS System converters ACR-CV-1xxL-M-D and ACR-CV-1xxL-M-EAC with The Things Stack LoRaWAN network server. The guide focuses on setting up application, registering devices, and configuring the connection between the devices and the network server.
Before You Start
Prerequisites
To successfully integrate your devices with The Things Stack, ensure you have the following:
- A functional The Things Stack LoRaWAN network server (in this guide, we use the open-source version deployed on our own server but you can use the public servers as well).
- LoRaWAN gateway connected to the network server
- LoRaWAN devices such as ACR-CV-1xxL-M-D or ACR-CV-1xxL-M-EAC.
- Device credentials (such as DevEUI, AppKey, and AppEUI) to properly configure the connection between your devices and the network server.
Creating Application
- Navigate to the Applications tab and click on the Create application button.

- Fill in the required fields and click on the Create application button.
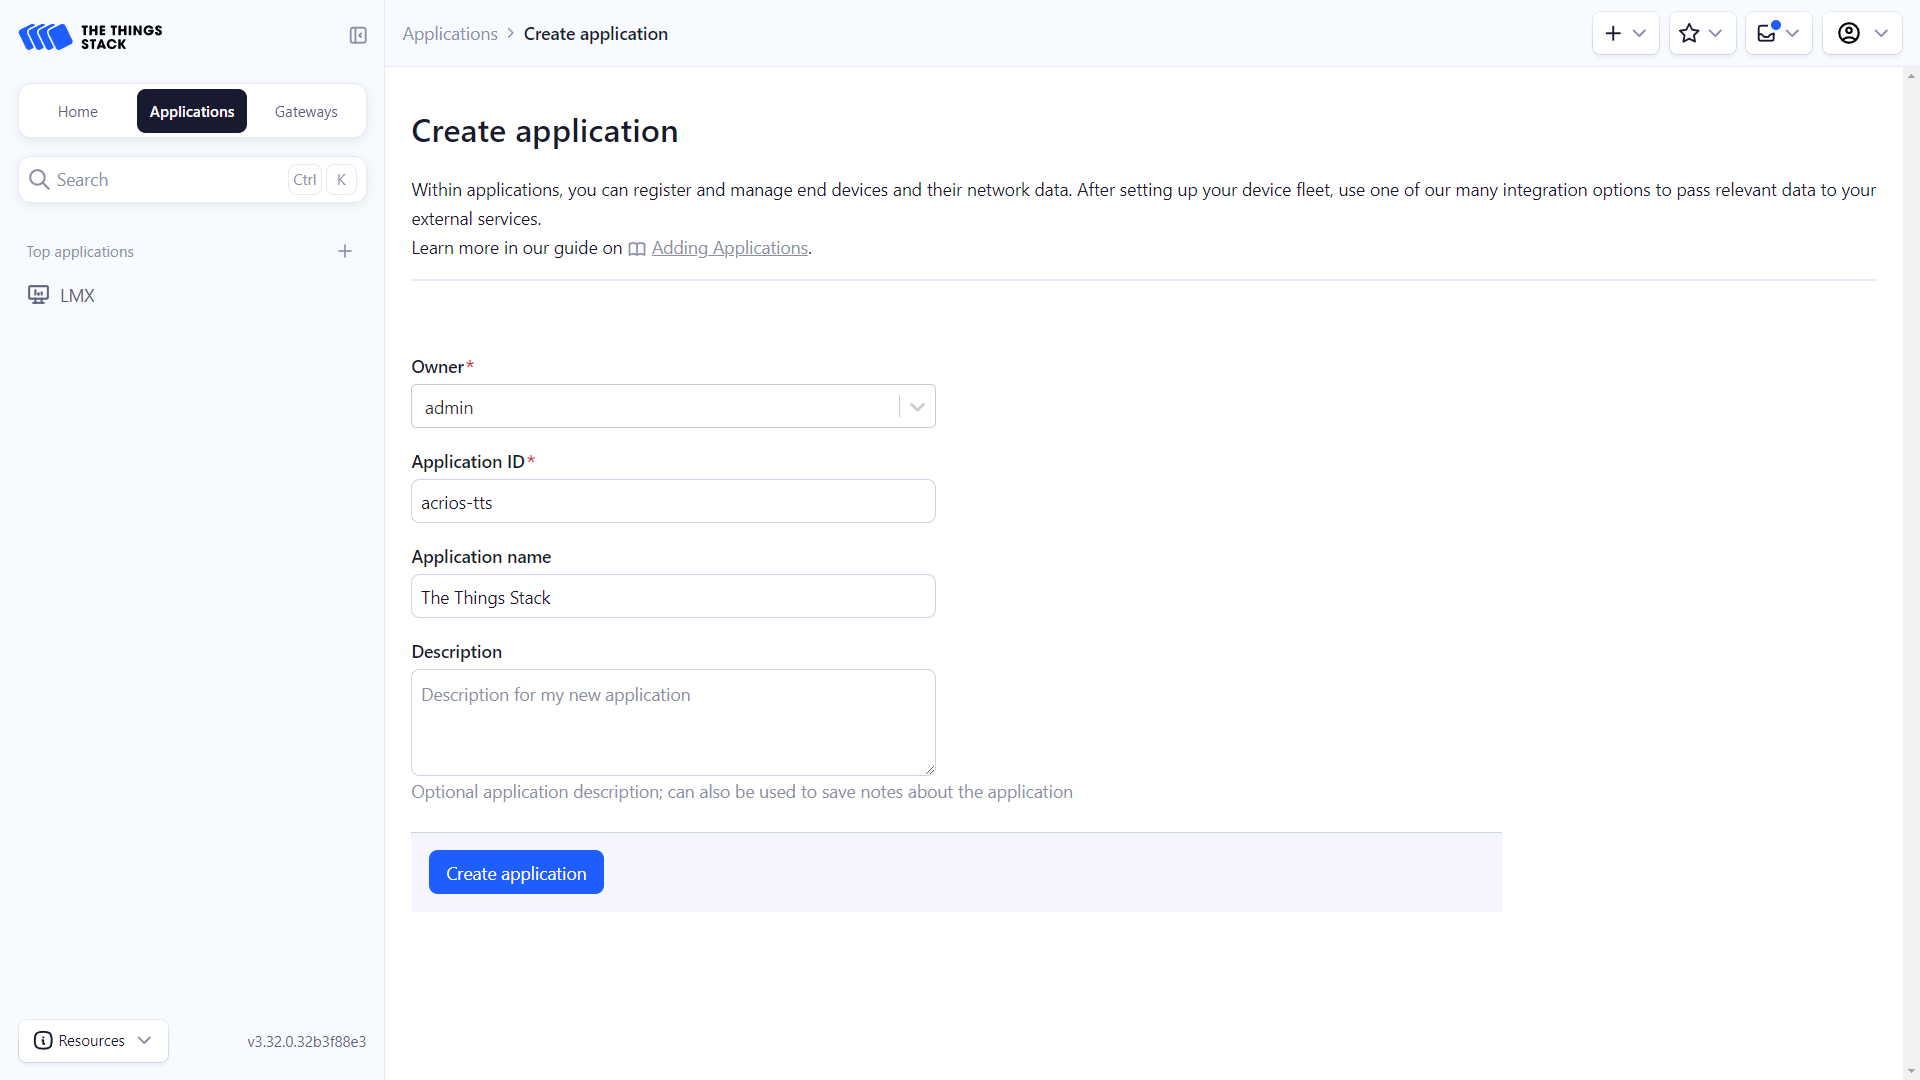
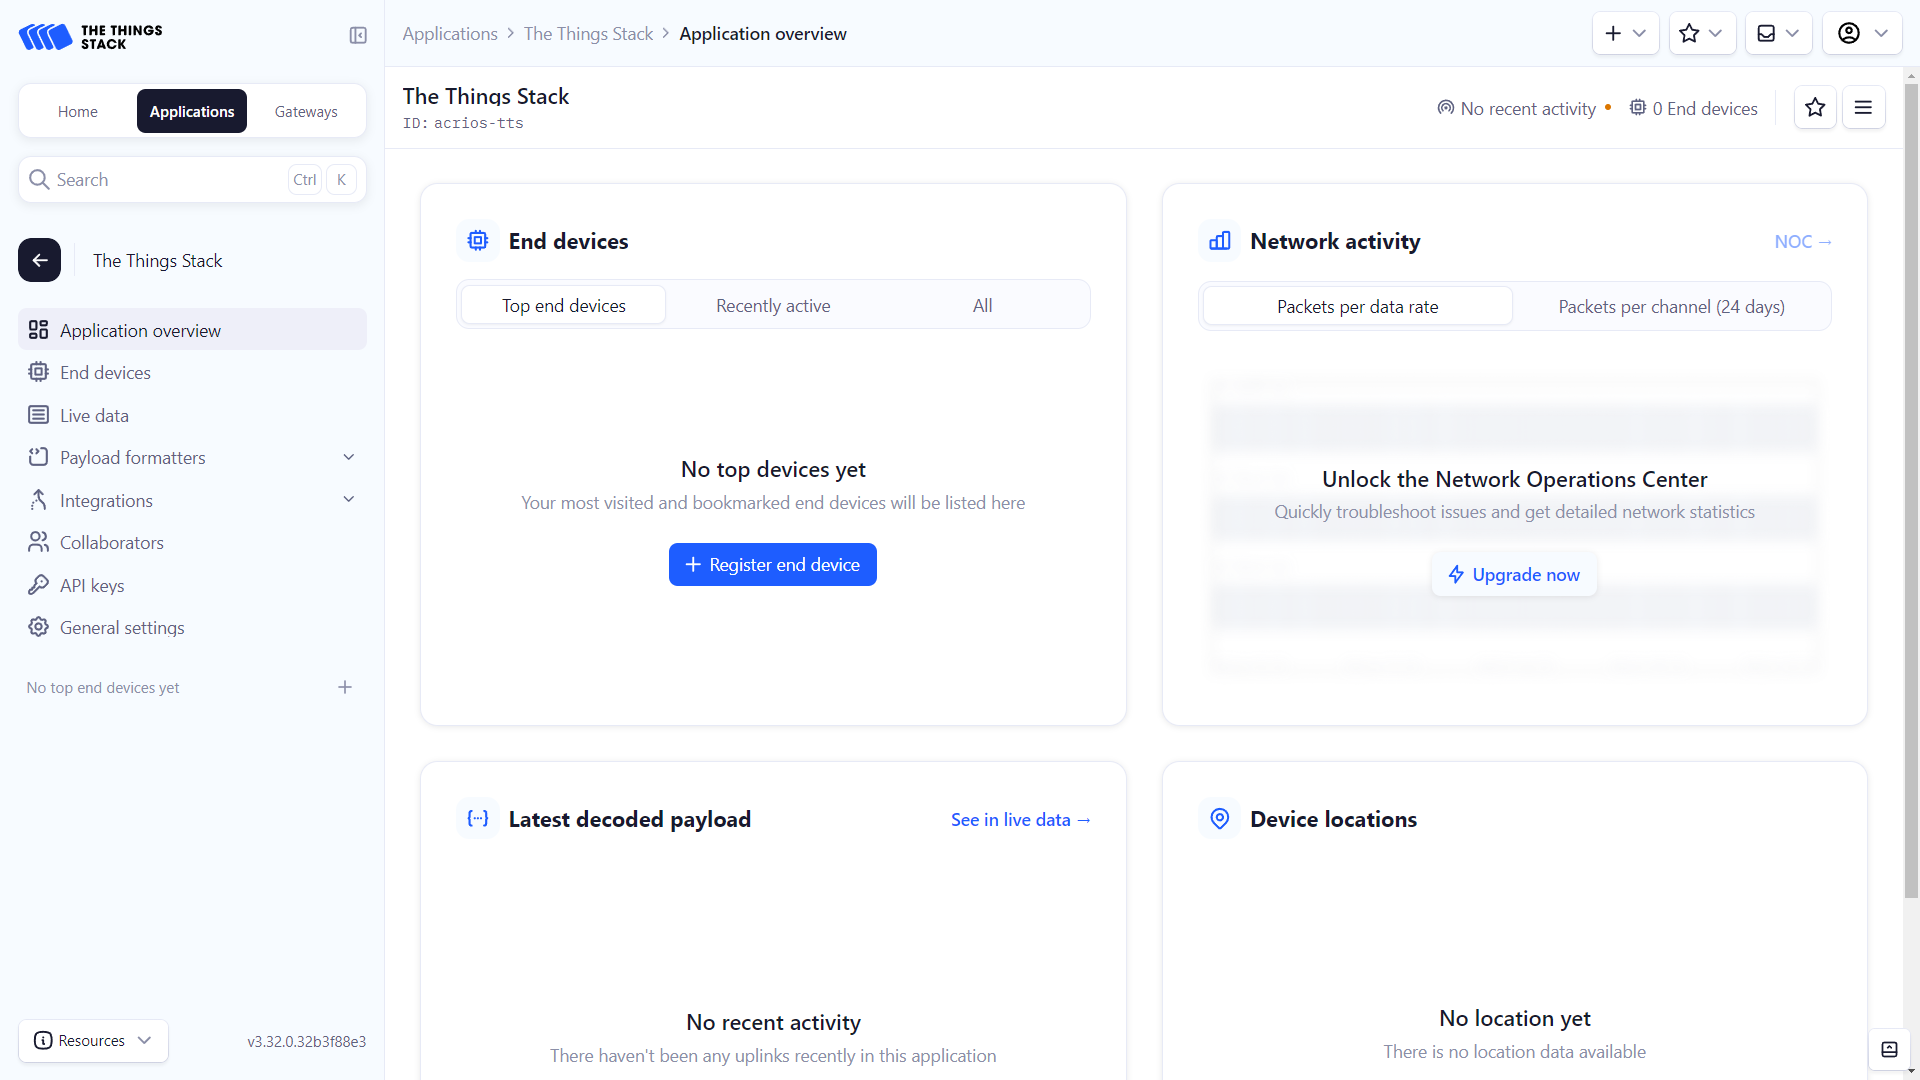
- After creation of the application, you will be redirected to the application overview page.
Registering Devices
- Navigate to the End devices tab.
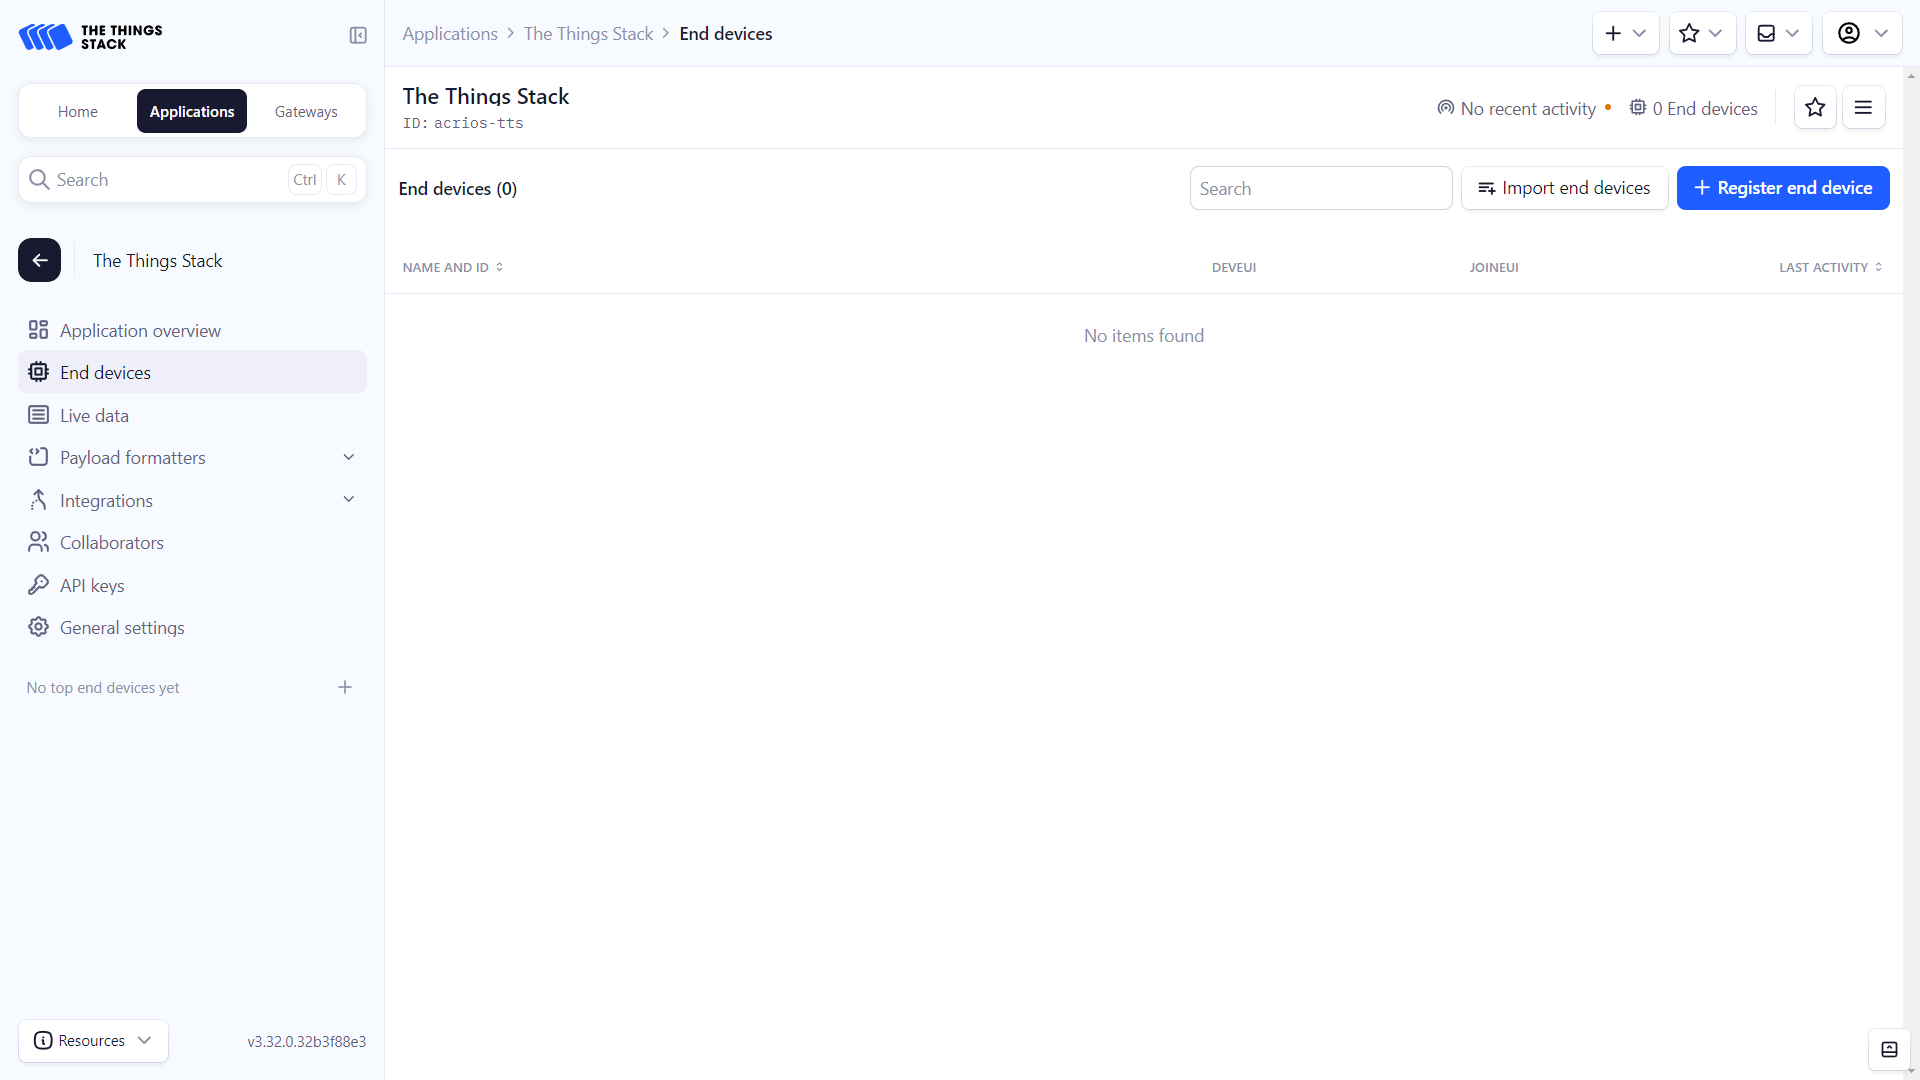
- Click on the Register end device button.
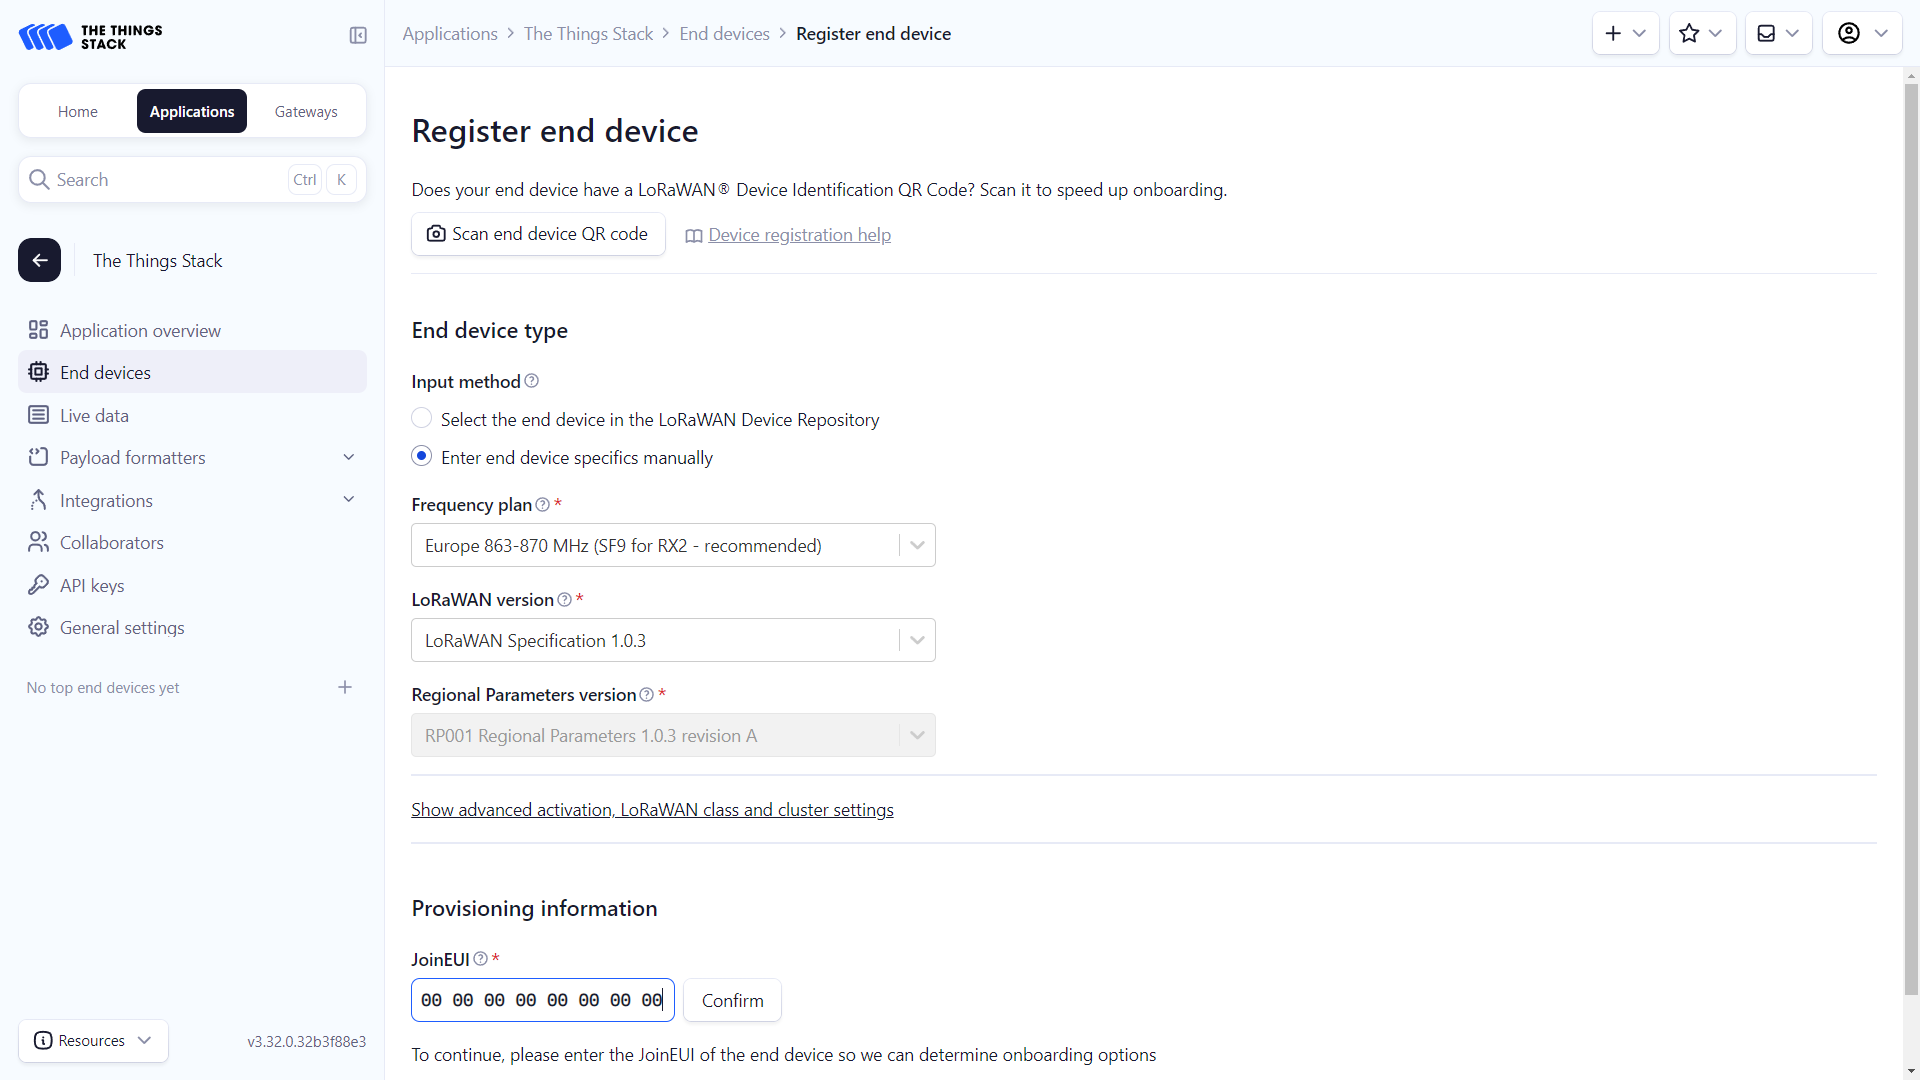
- You can create general device or select end device from LoRaWAN Devices Repository:
- Creating general end device:
- Select Enter end device specifics manually, select Frequency Plan and LoRaWAN version, fill JoinEUI and click on Confirm button.
- Fill in the DevEUI and AppKey and click on the Register end device button.
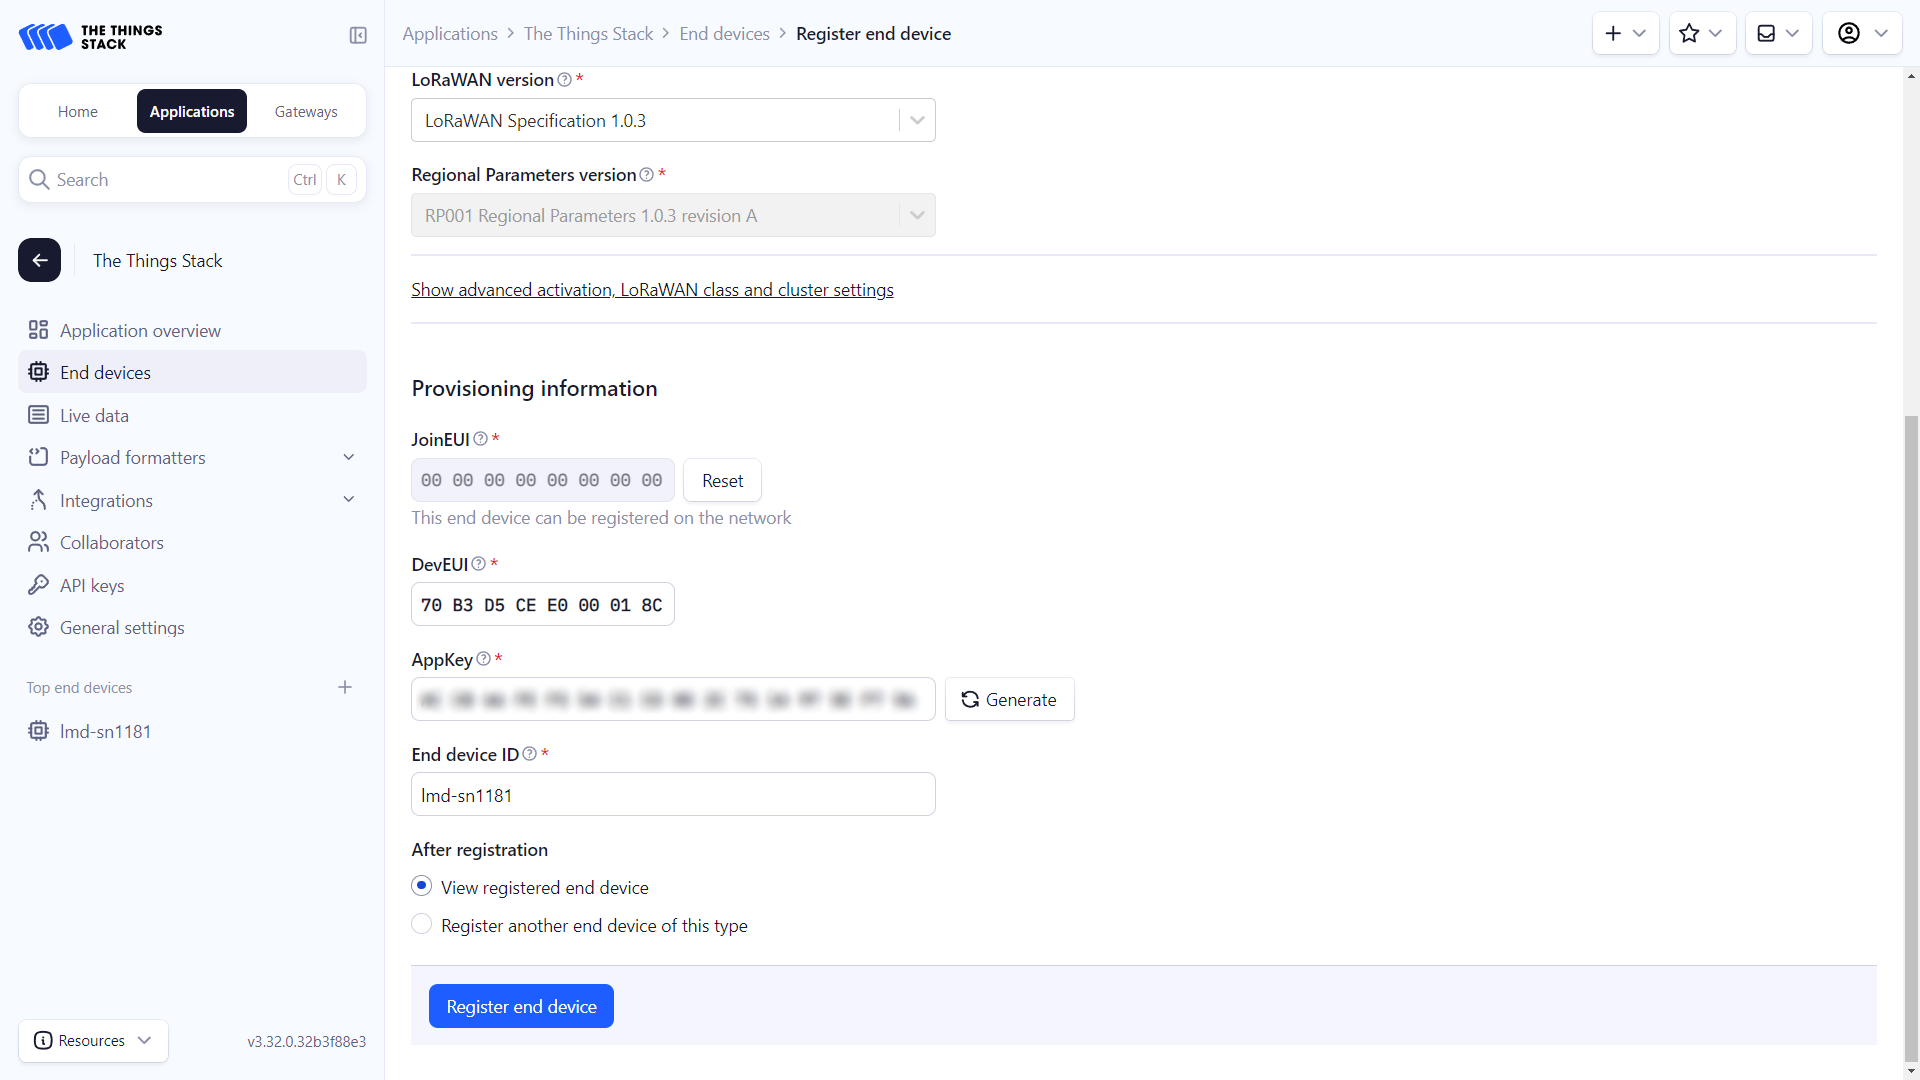
AppKey was censored for security reasons
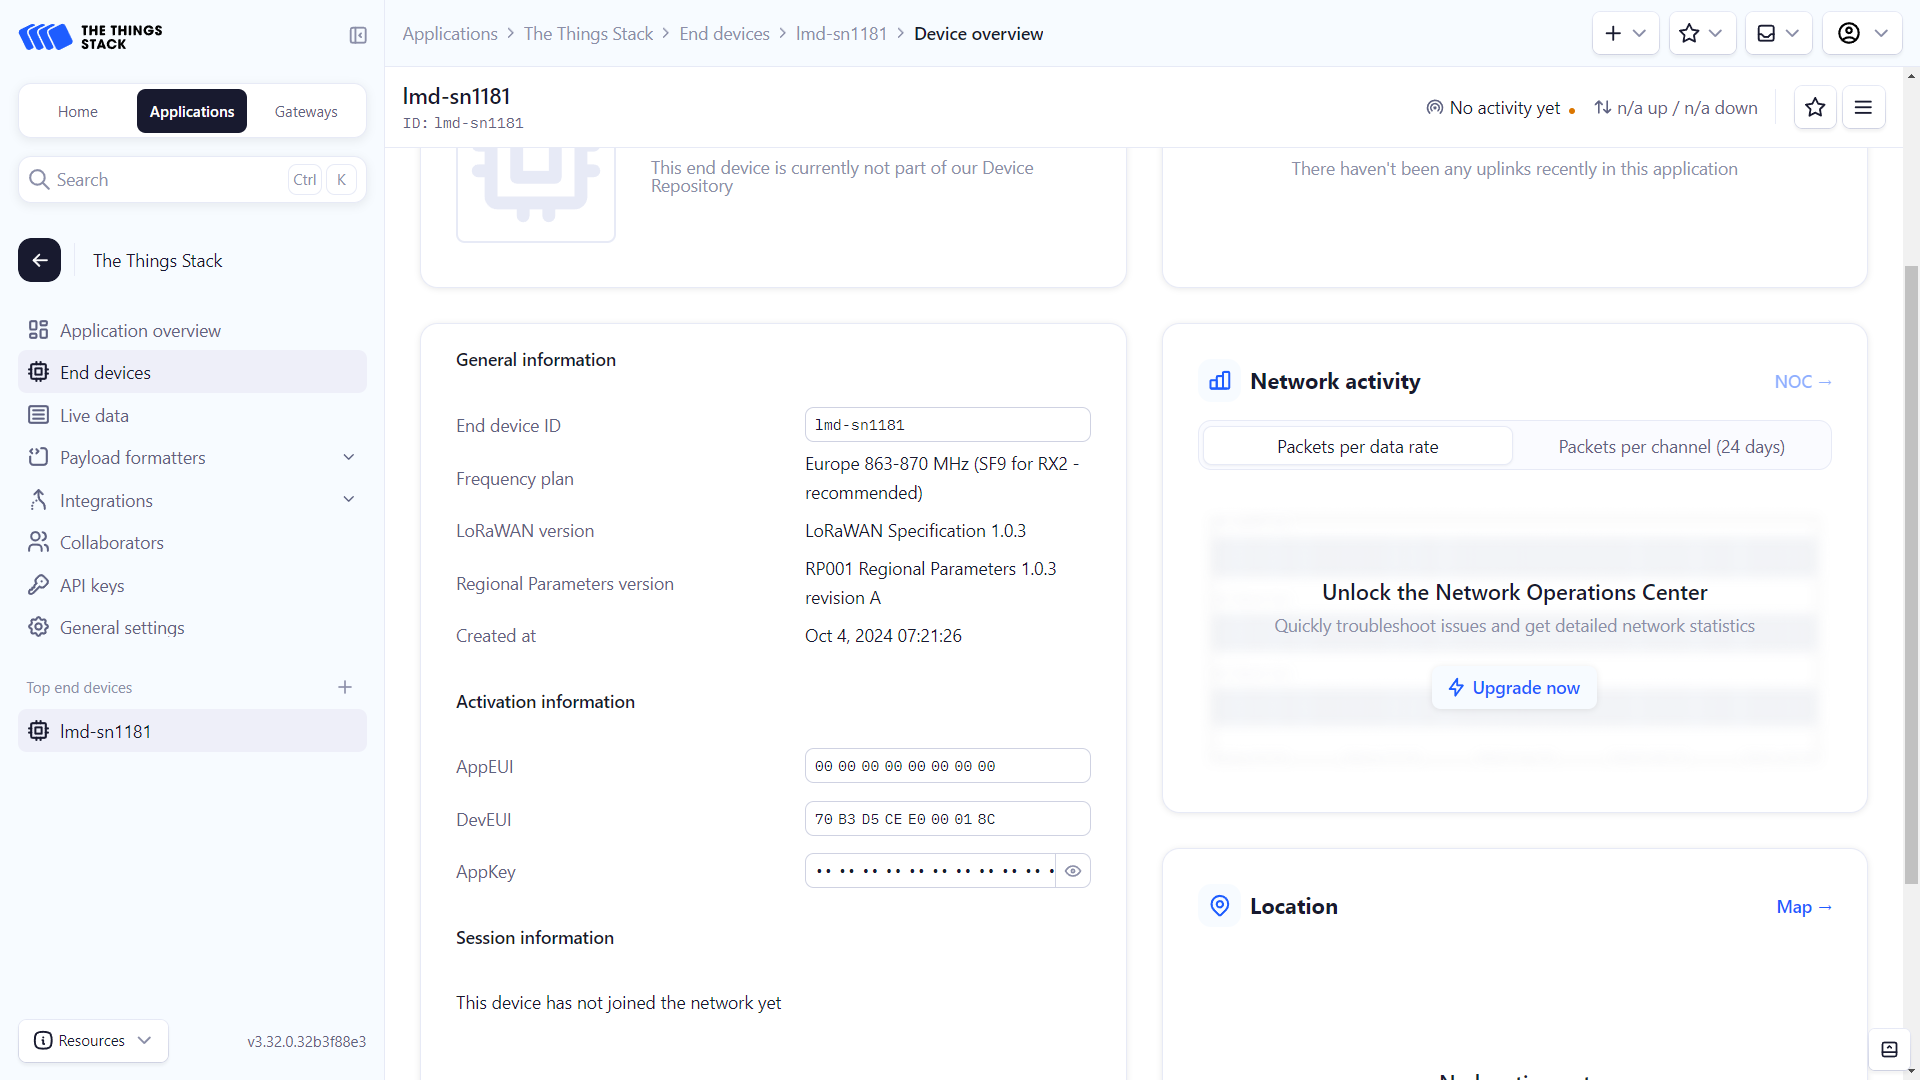
- If you have followed all the steps correctly, your device should appear with its general and activation settings properly configured. This includes information such as the DevEUI, AppKey, AppEUI, and other LoRaWAN-specific settings.
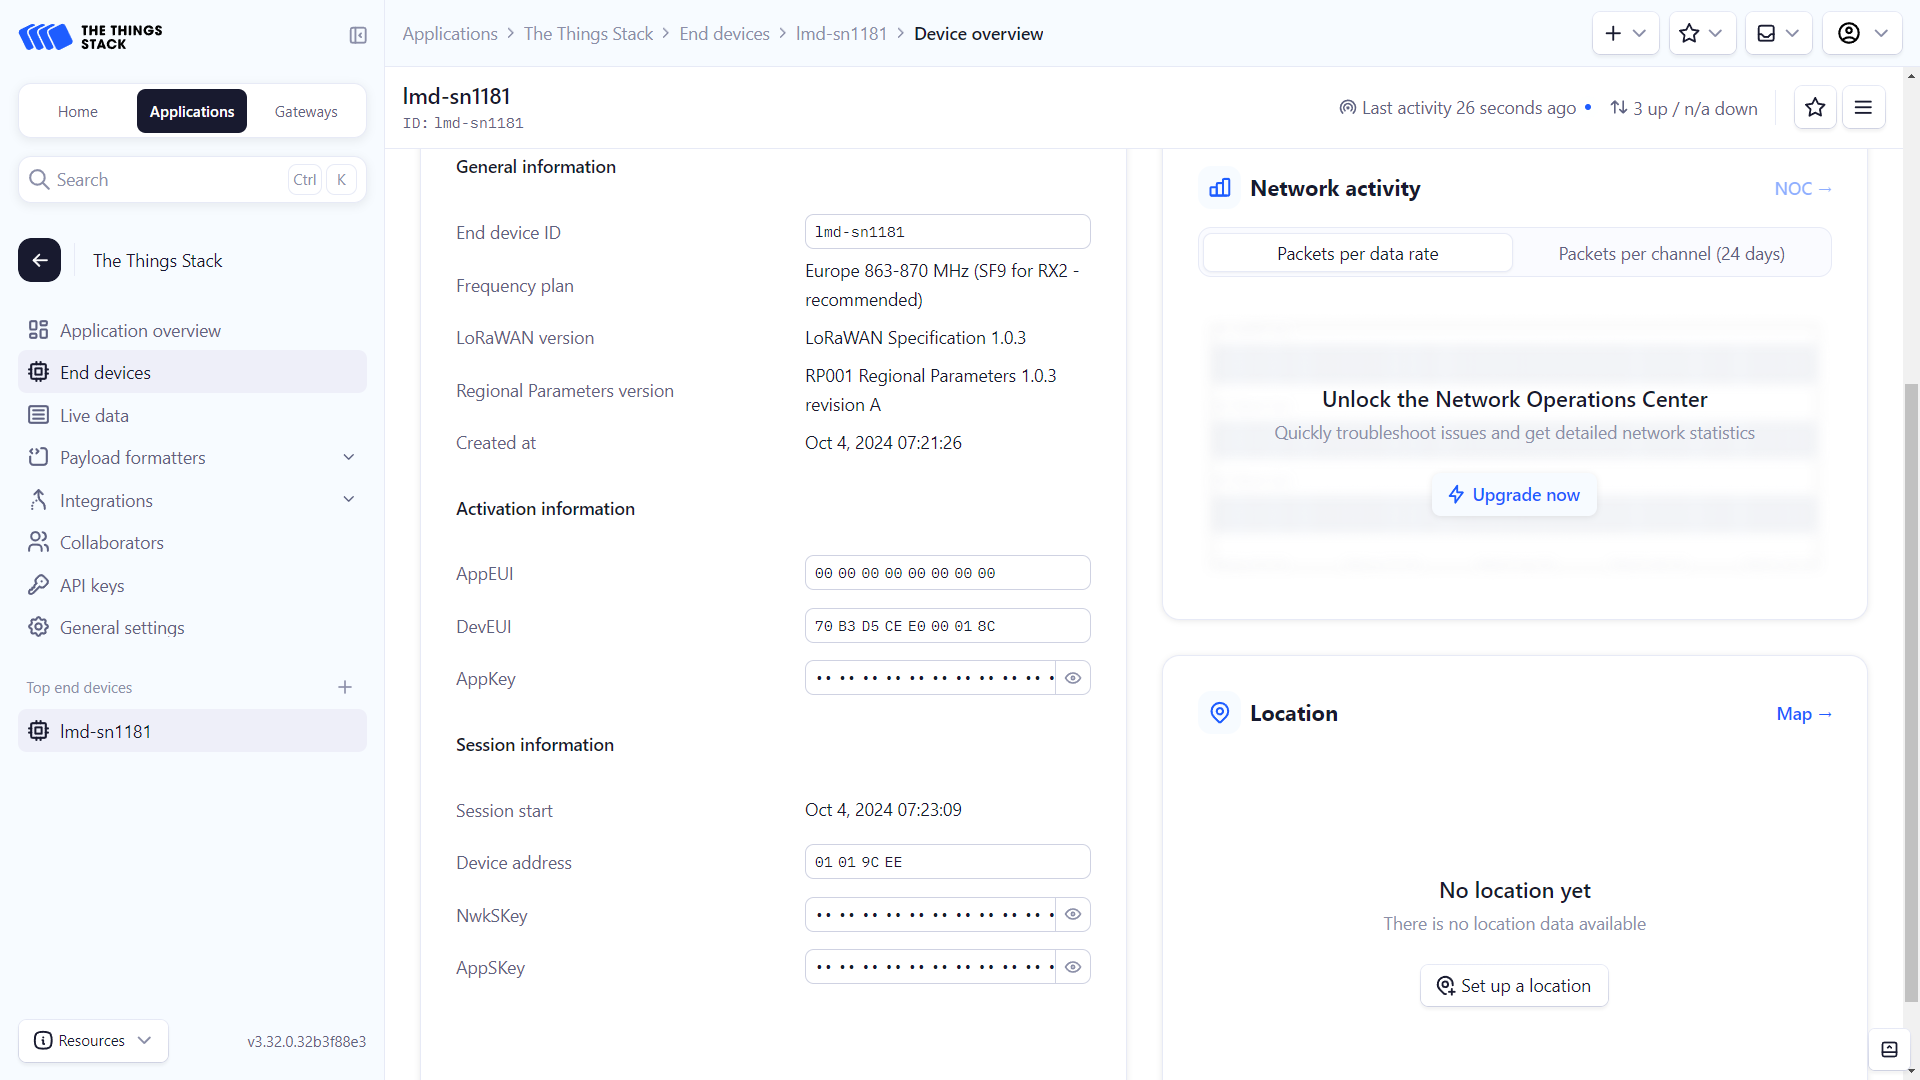
- After successfull connection session information should appear.
- Select Enter end device specifics manually, select Frequency Plan and LoRaWAN version, fill JoinEUI and click on Confirm button.
- Creating general end device:
Adding custom payload formatter for device
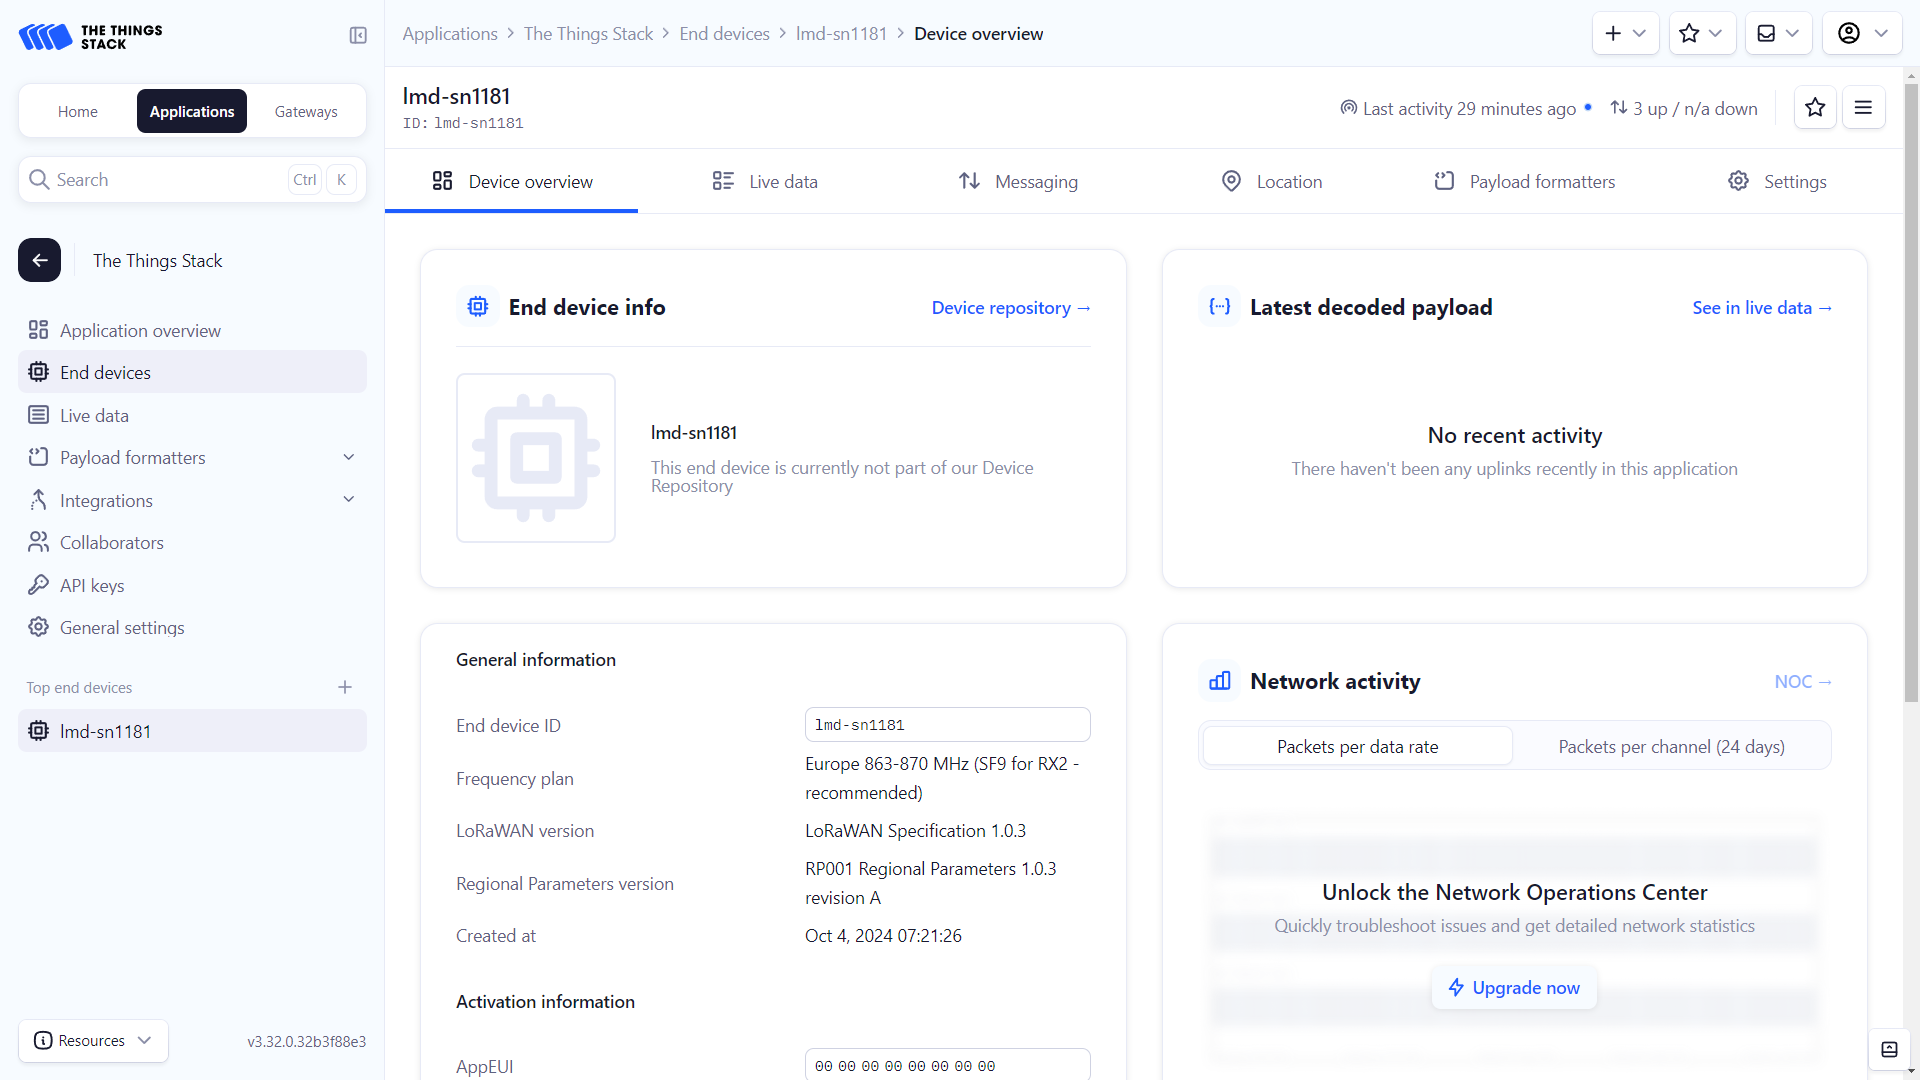
- Navigate to your device.
- Click on the Payload Formatters tab and select Custom Javascript formatter in Uplink tab.
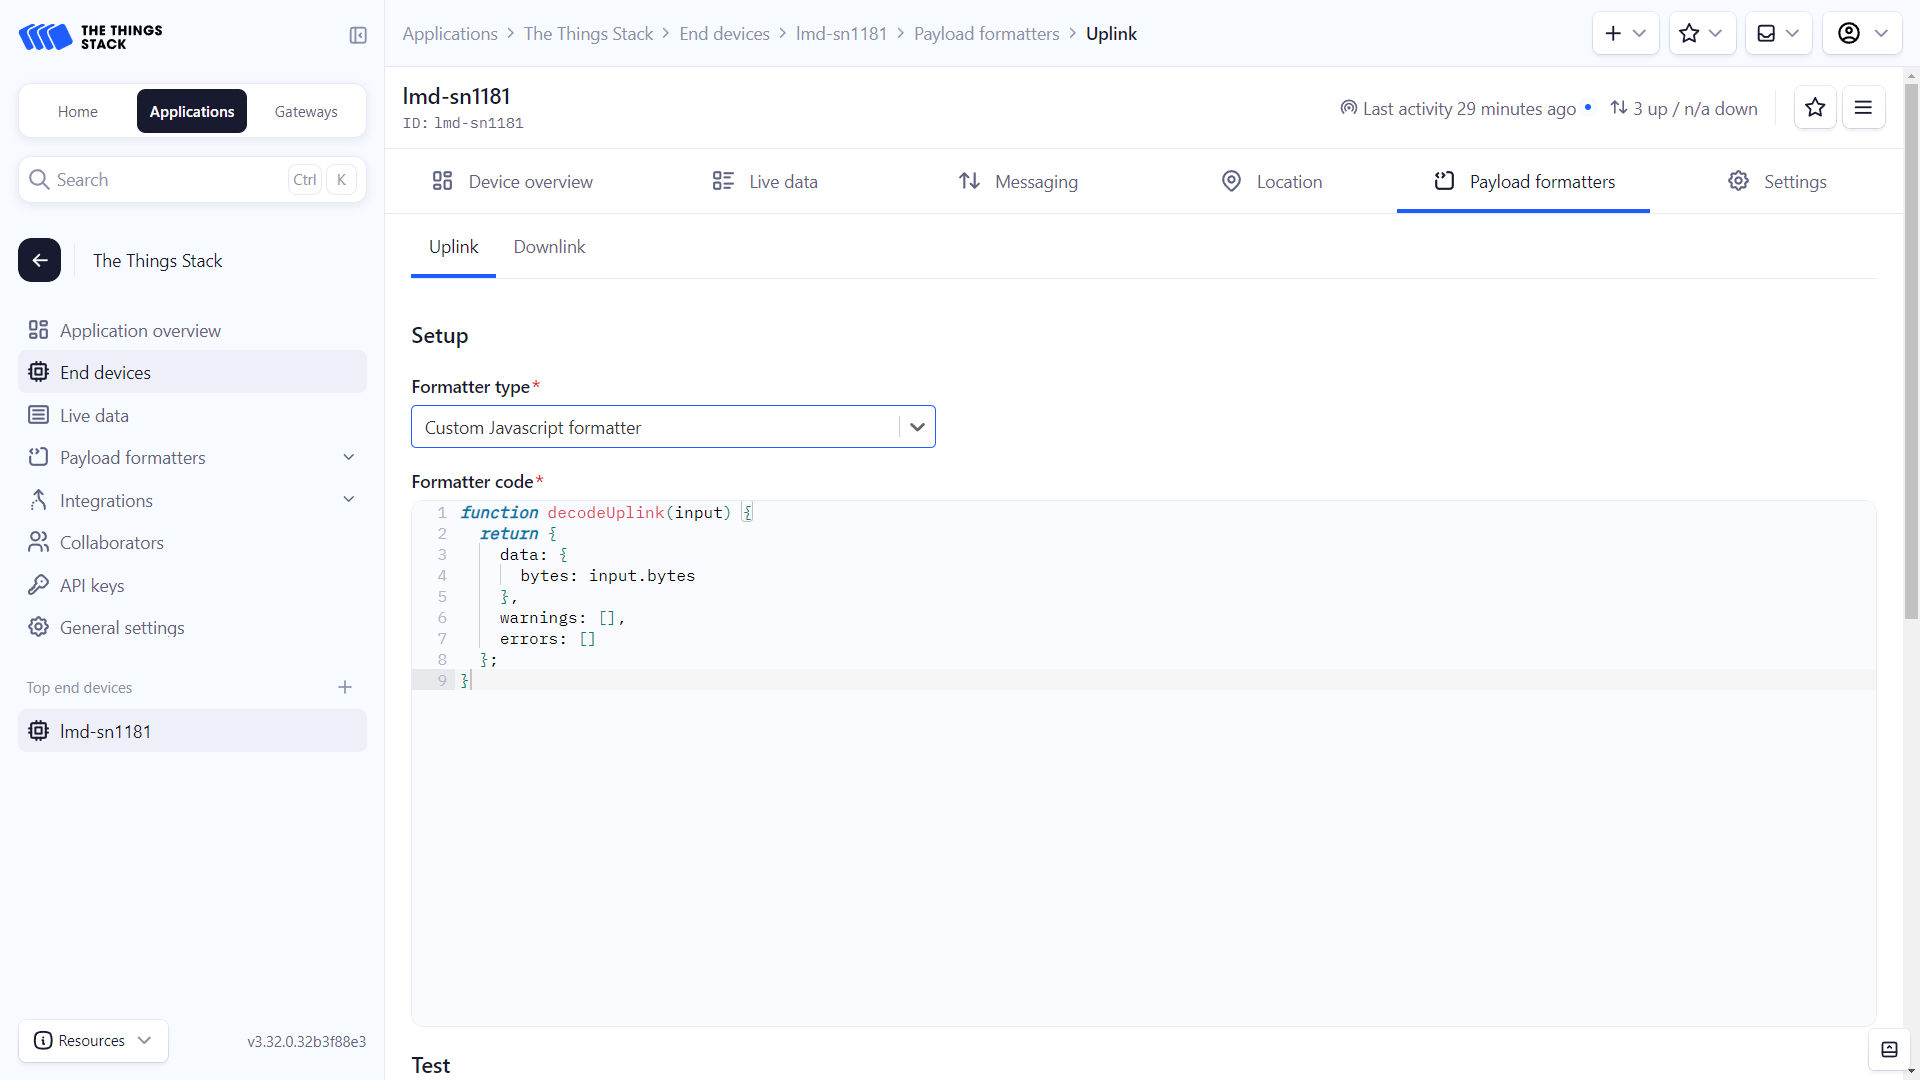
- Copy and paste the parser code into the Formatter code field:

- Paste the following payload into the Byte payload field and click on the Test decoder button to verify the parser code:
01 01 68 13 13 68 08 05 73 78 56 34 12 0a 00 e9 7e 01 00 00 00 35 01 00 00 3c 16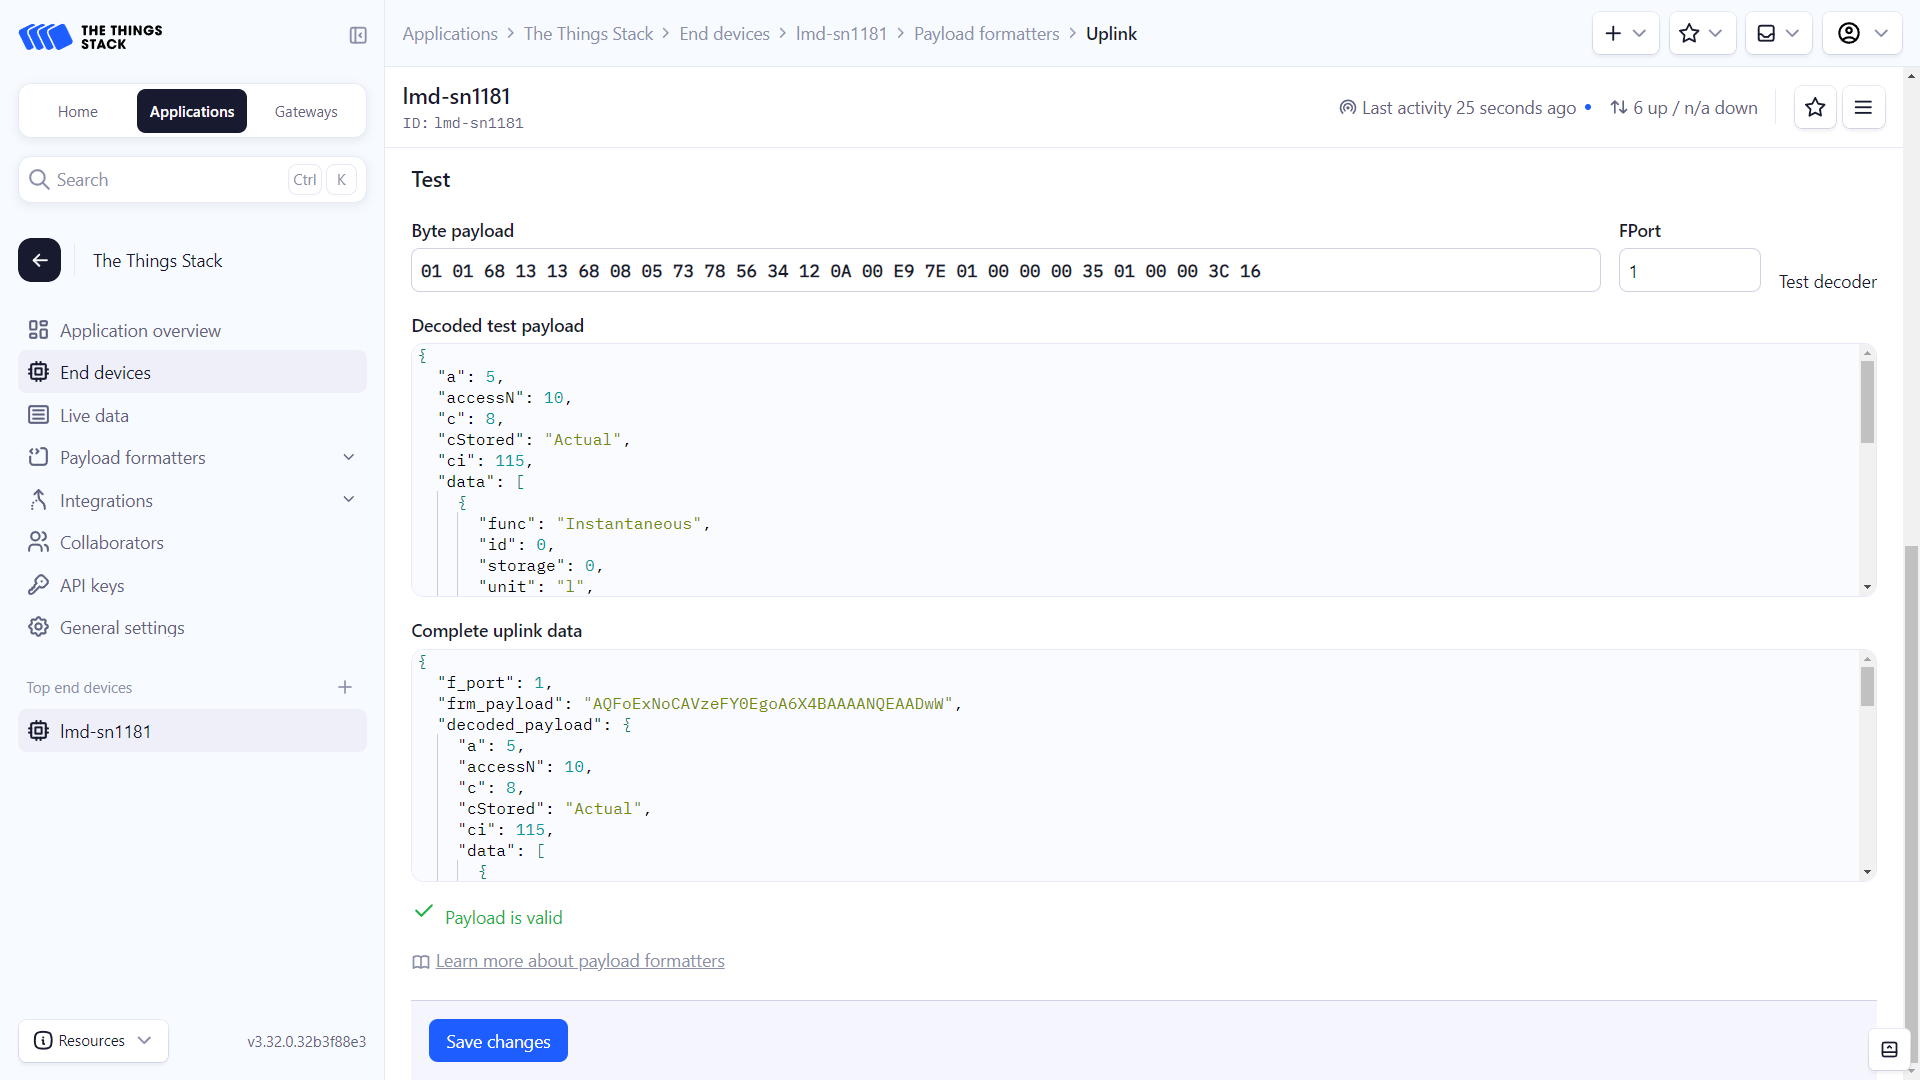
If the parser code is correct, the decoded payload will appear in the Decoded test payload field.
- Click on the Save changes button to save the parser code.
If you're using custom parsers, make sure to apply the VIF/DIF filter on the device to reduce the payload size to under 51 bytes. TTS does not support saving payloads for fragments reassembly.
If you need to read out the entire payload, you can use Akenza.io.
Conclusion
The Things Stack is a useful platform for management of our LoRaWAN to M-Bus devices, that allows further integration with services such as Akenza.io or Webhook.